


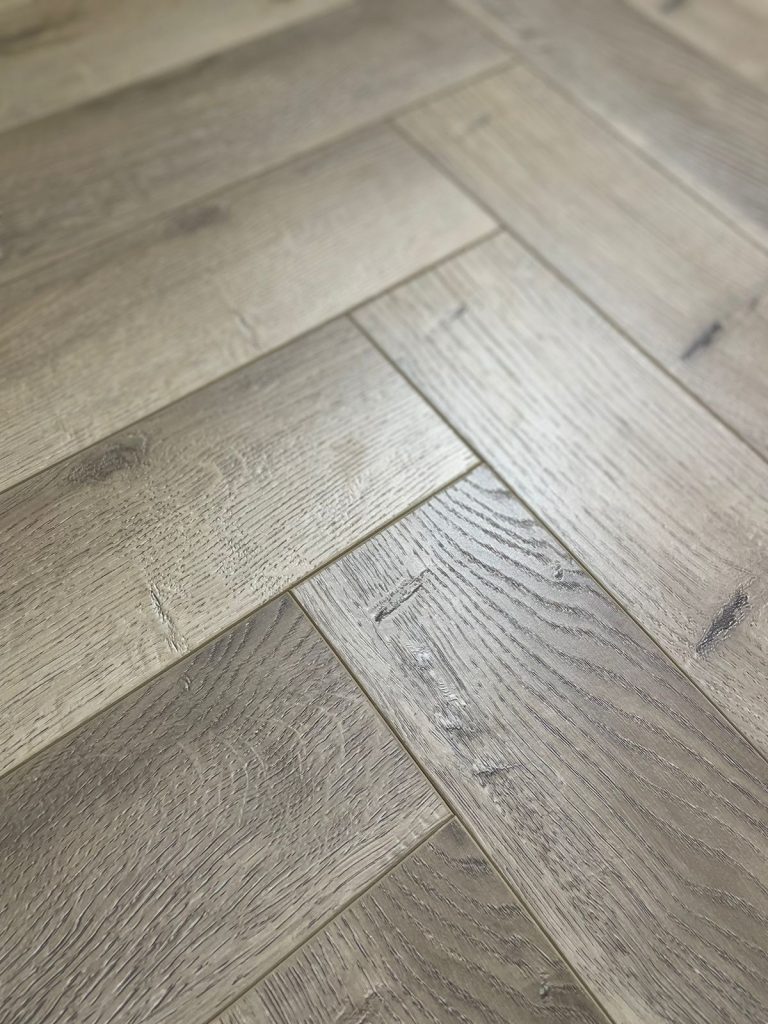
Herringbone is a type of parquet flooring. Pieces of floor planks are placed in an attractive pattern on the floor. The majority of the flooring patterns are angular and geometric in nature, such as squares, lozenges, and triangles.

Now that we know what herringbone flooring is, lets look at how to install it. Like any other flooring, there are tools that are needed to get the job done.
- Flooring
- Floor accessories
- Rubber mullet
- Cutter(saw blade)
- Marking Tool
Acclimate the floor: The herringbone flooring, should be allowed to acclimate inside of your home for at least 48 hours in the space where they are to be installed. Acclimating the product helps keep this material’s natural expansion and contraction from becoming a problem after installation. This is done by opening the floor tiles and leaving them in the space to which the floor will be intalled for about 48hrs.
Prep the area: Make sure your subfloor is clean and any trim work, such as quarter round has been removed. Account for your new floor height. A smooth and level subfloor is a must-have for the successful installation of interlocking herringbone flooring. Decide on your layout first by choosing which direction you want your herringbone pattern.
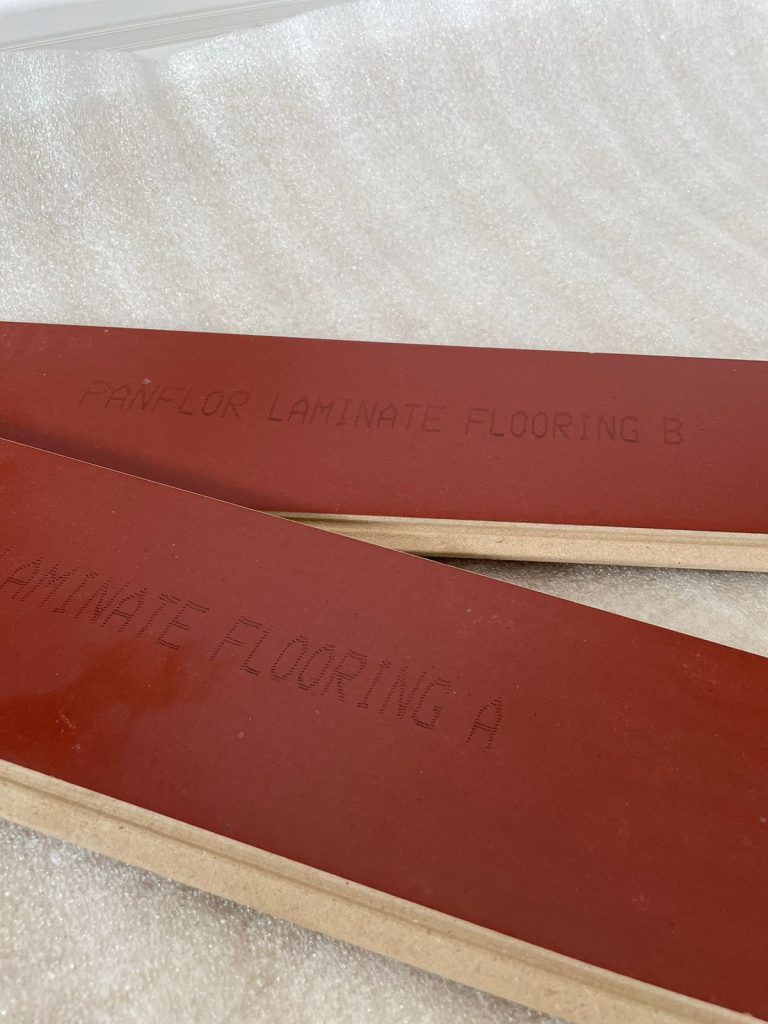
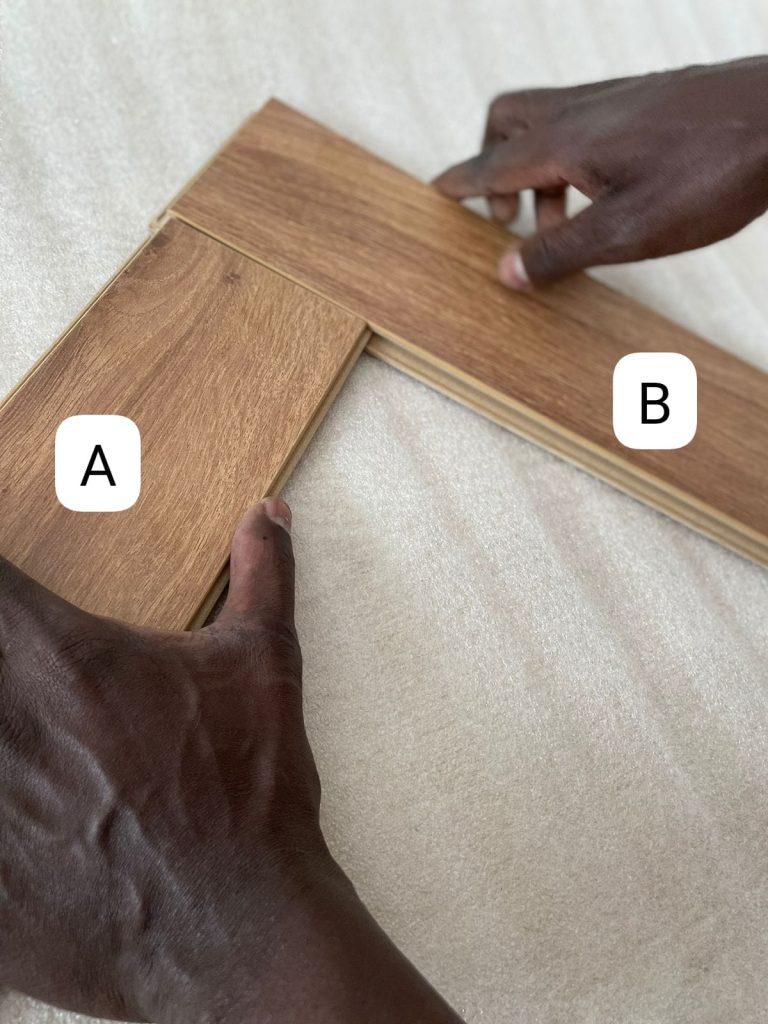
Placement: Lay the underlay. The Panflor laminate planks come in a box of 32pcs with 16pcs labled A and 16pcs labled B. Take three A boards and two B boards. Then click your first B board into the header joint of your first A board to form the classic herringbone ‘V’ shape. (The boards are labeled at the back A and B). Then, get your second A board and click it into place on the right of your ‘V’ shape as you look at it, alongside your first A board. Next, take the second B board and place that alongside your first B board and click it into the header joint of the second A board.
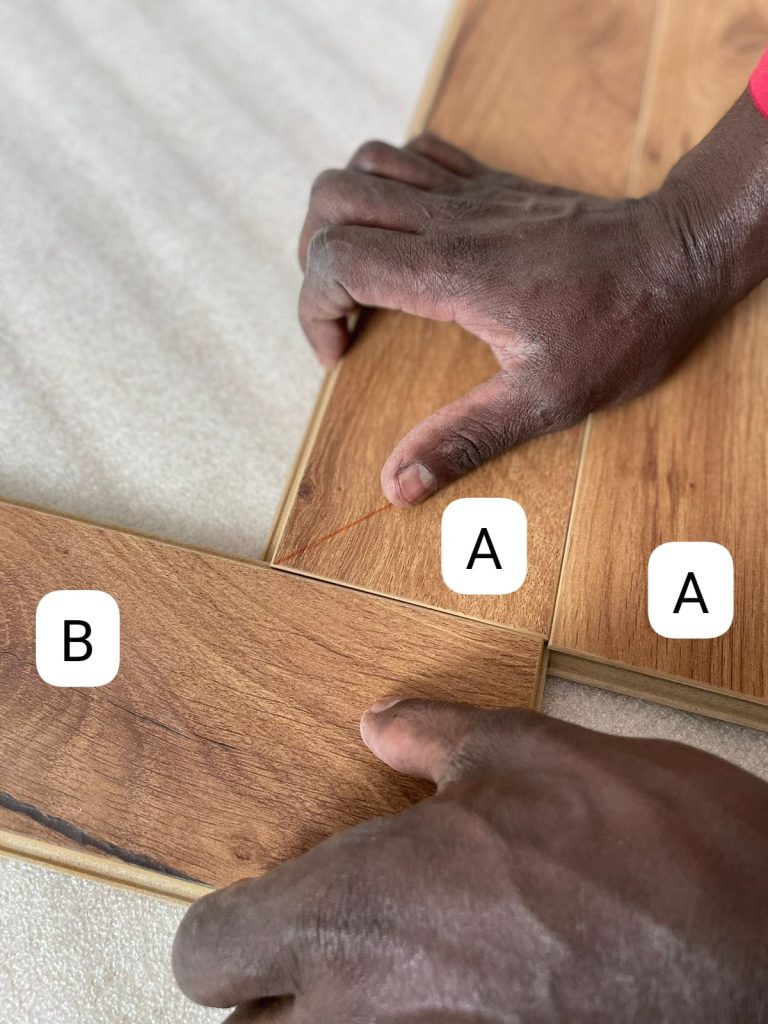
Click the seams together. Use a rubber mallet and scrap piece of flooring (not a tapping block) to push planks together into a perfect fit at the seams. Then, lock the planks together by tapping the top of the seams with a rubber mallet. As you lay planks, make sure you aren’t placing two matching boards side-by-side with the same pattern and shade(A fits to B). Pull planks from several boxes and place them into stacks. Pay attention to the planks you’re grabbing as you work to make sure none near each other look the same for a more natural variance.
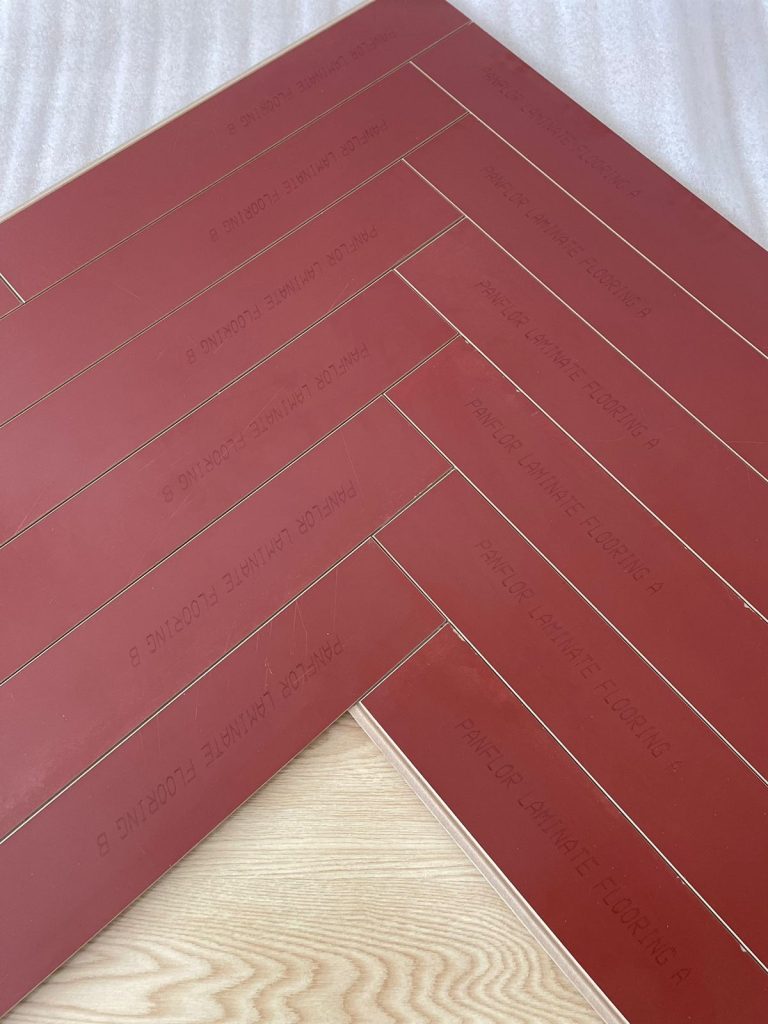
Repeat the process of laying, clicking together, and locking full planks throughout the middle of the room. As you finish laying the planks in the middle of the room, cut the pieces to size to fill the edges and corners of the room. It is easier to Start with the first full planks and lay on one row of the room where the pattern will start so as to minimize on wastage. Then work down a full column and move on to the next until the whole room is completed. The pattern recommended should follow the image below.
Once the full planks have been placed, now go back and fill in the gaps left. This is mainly along the first row and the last columns. Use a tape measure to find the distance between a wall and a plank. Mark the Plank for Cutting Continue filling all edges and corners by measuring and cutting planks as well as working around any obstacles like floor vents using the same method. Use a damp mop and gentle cleaning agent to remove surface dirt and leave your floor clean after the full installation.
ENJOY YOUR FLOORS!
